I've been painting a number of 25/28mm miniatures that require spears. Although very decent spears can be bought pre-made from companies such as
North Star, I have instead been making spears mysef from brass rod.
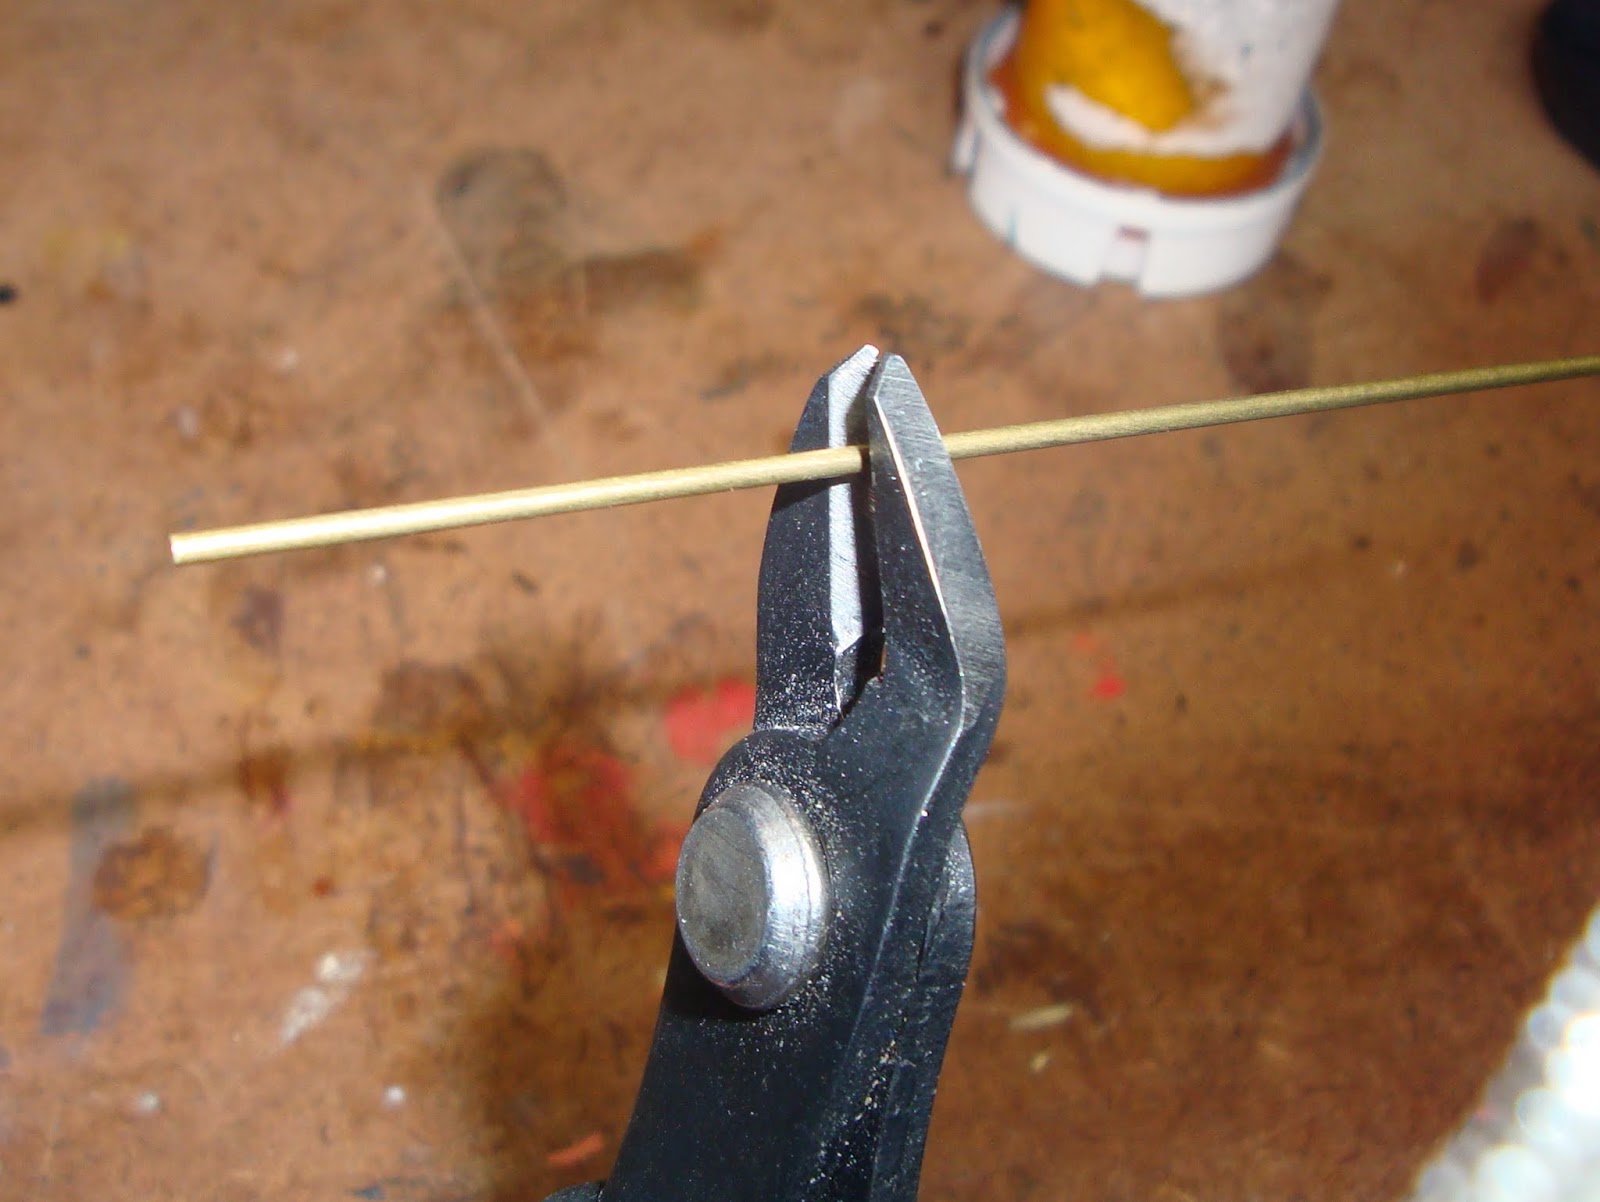 |
| Fig. 1 Start with 3/64" brass rod (1.19mm). Snip to taste with wire cutters (click to enlarge). |
 |
| Fig. 2 A couple of examples of different length. 3/64" makes a good-sized haft for a 28mm figure. 1/32" rod (0.8mm) is suitable for a lighter weapon shaft such as a javelin. |
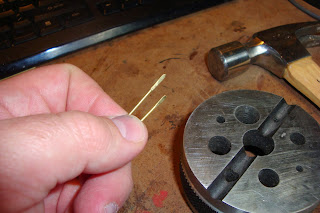 |
| Fig. 3 To give the spears a flat blade, I lay each rod on a hard surface and give the end a couple of strikes with a hammer. The regular claw hammer shown works well enough, but a smaller jeweler's hammer would be nice to have. |
 |
| Fig. 4 A closer look at the flattened ends. This is called "planishing". Sometimes I'll snip the ends into a "^" point to speed up the filing process. |
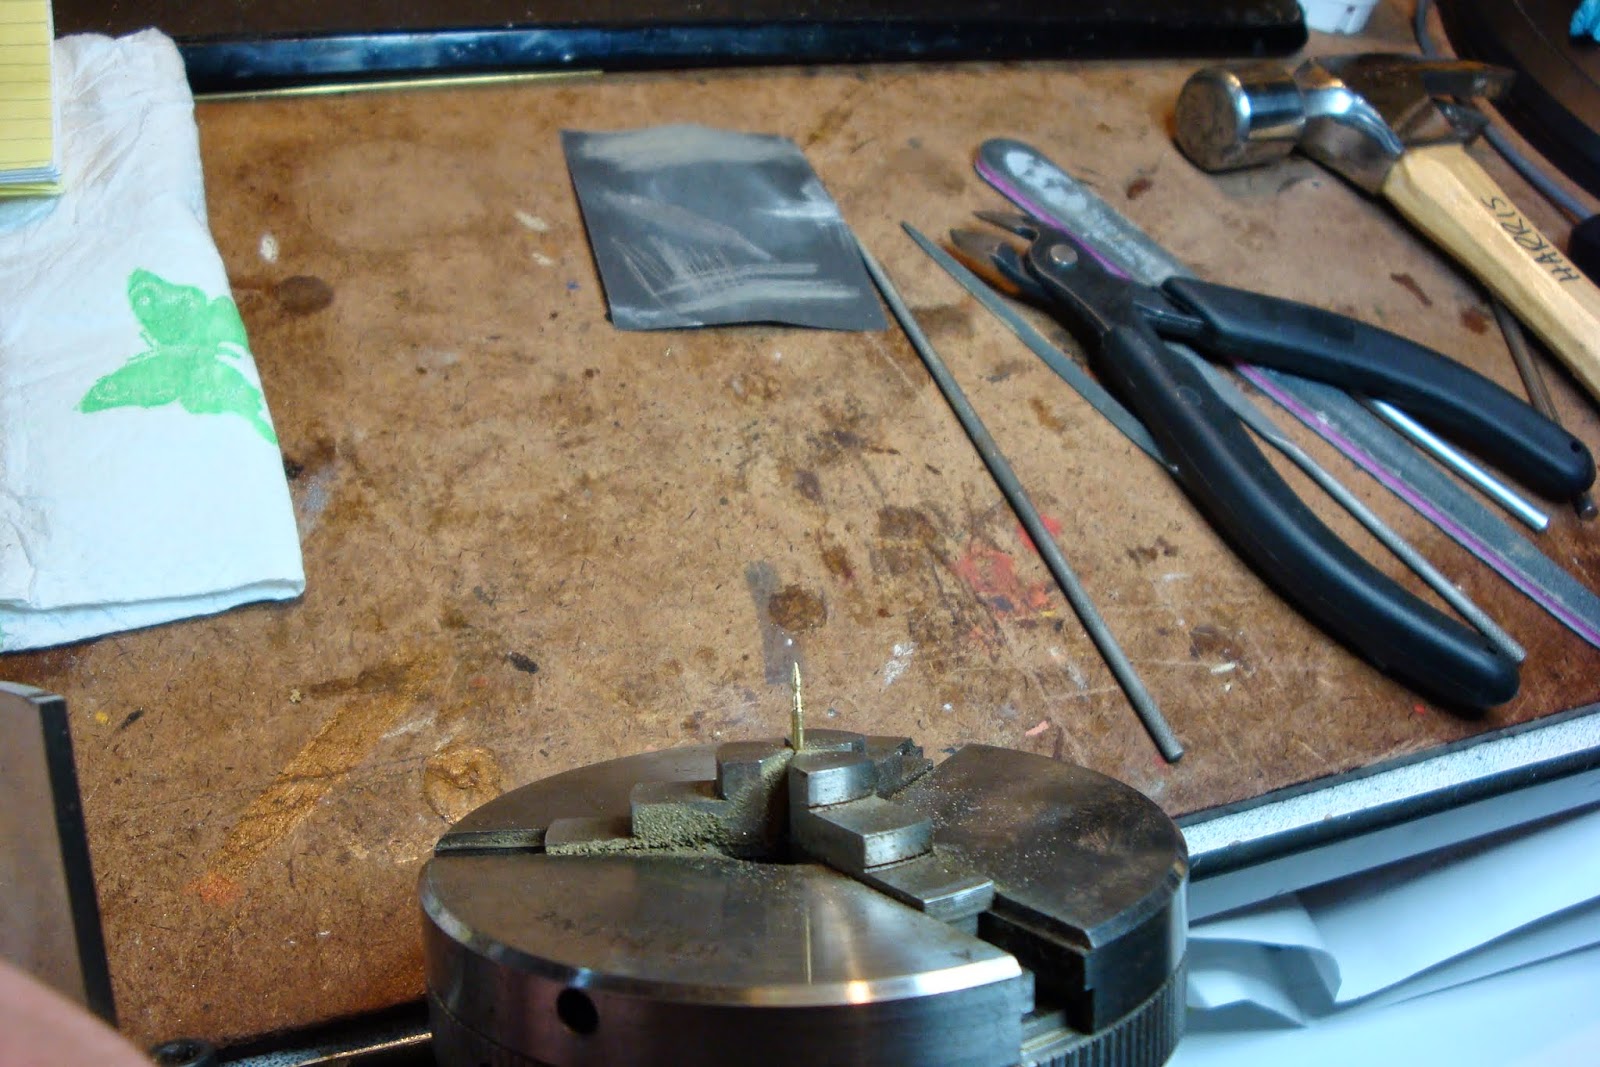 |
| Fig. 5 Setting up for filing: the planished rod is placed in a three-jawed chuck of a Sherline lathe headstock that I have. This could also be done by hand, but spinning the rod in a chuck speeds up the process considerably. |
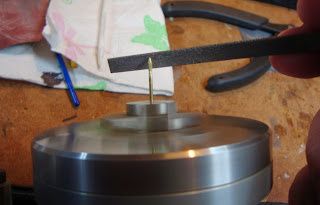 |
| Fig. 6 The spinning chuck. One must also take care that the handle end of the tool (in the case a needle file) is not caught by the spinning chuck and driven back into one's hand. |
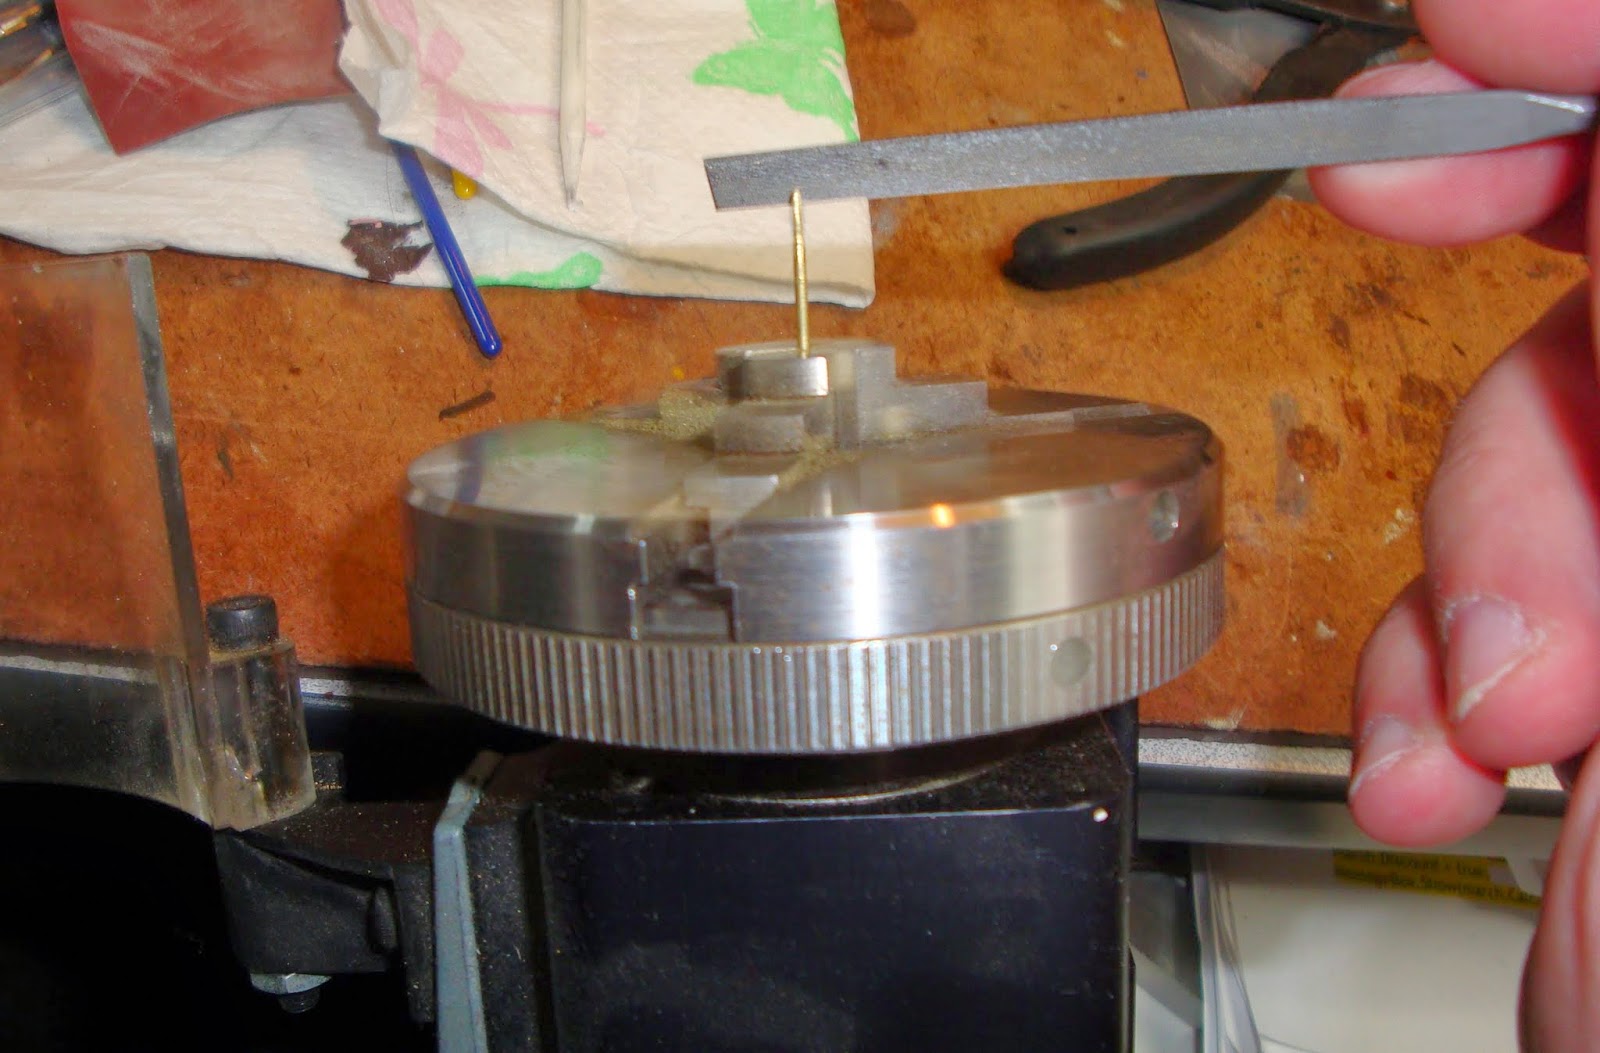 |
| Fig. 7 The lathe chuck is separate from its lathe bed; I hold the assembly in my lap, turn the motor up to a few hundred rpm, and file and sandpaper the spearhead into shape. This is probably not the safest way to operate the lathe head. Do not try this at home, &c &c. |
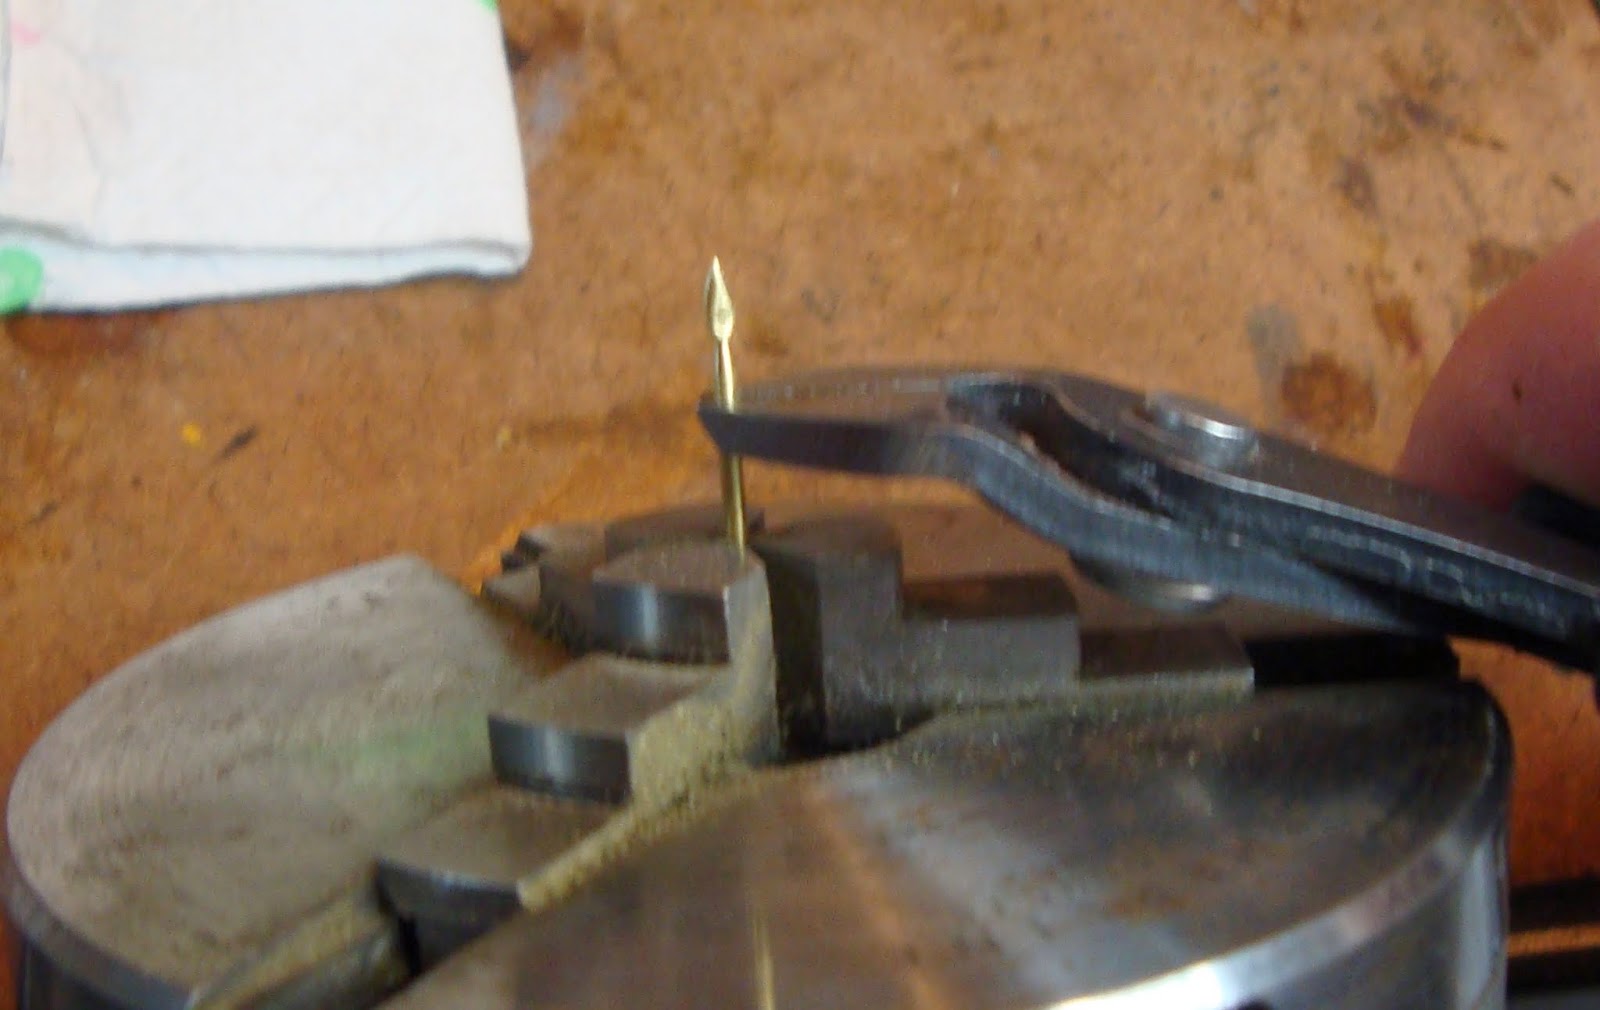 |
| Fig.8 Running the motor very slowly - sometimes turning the motor off and just rotating the chuck by hand - I score beneath the spear blade to create the border between spearhead and shaft.. |
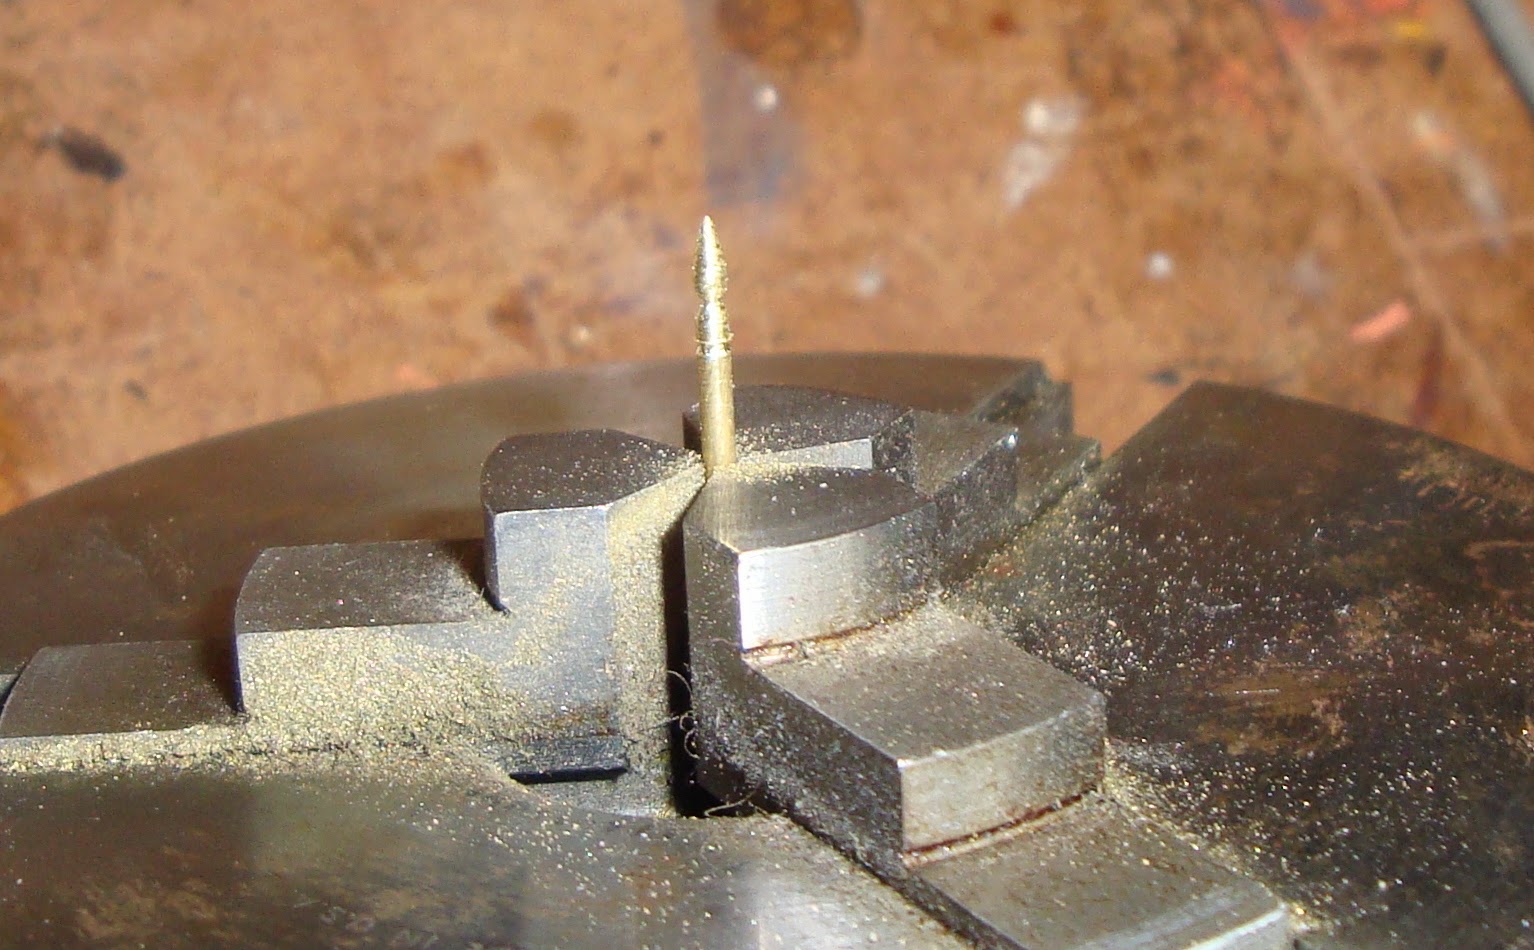 |
| Fig. 9 Turning the spear over, I fasten it back in the chuck with the blade facing down. Now I can shape the bronze end-spike of the spear. Called a "sauroter" by the ancient greeks (lit. "lizard sticker"). |
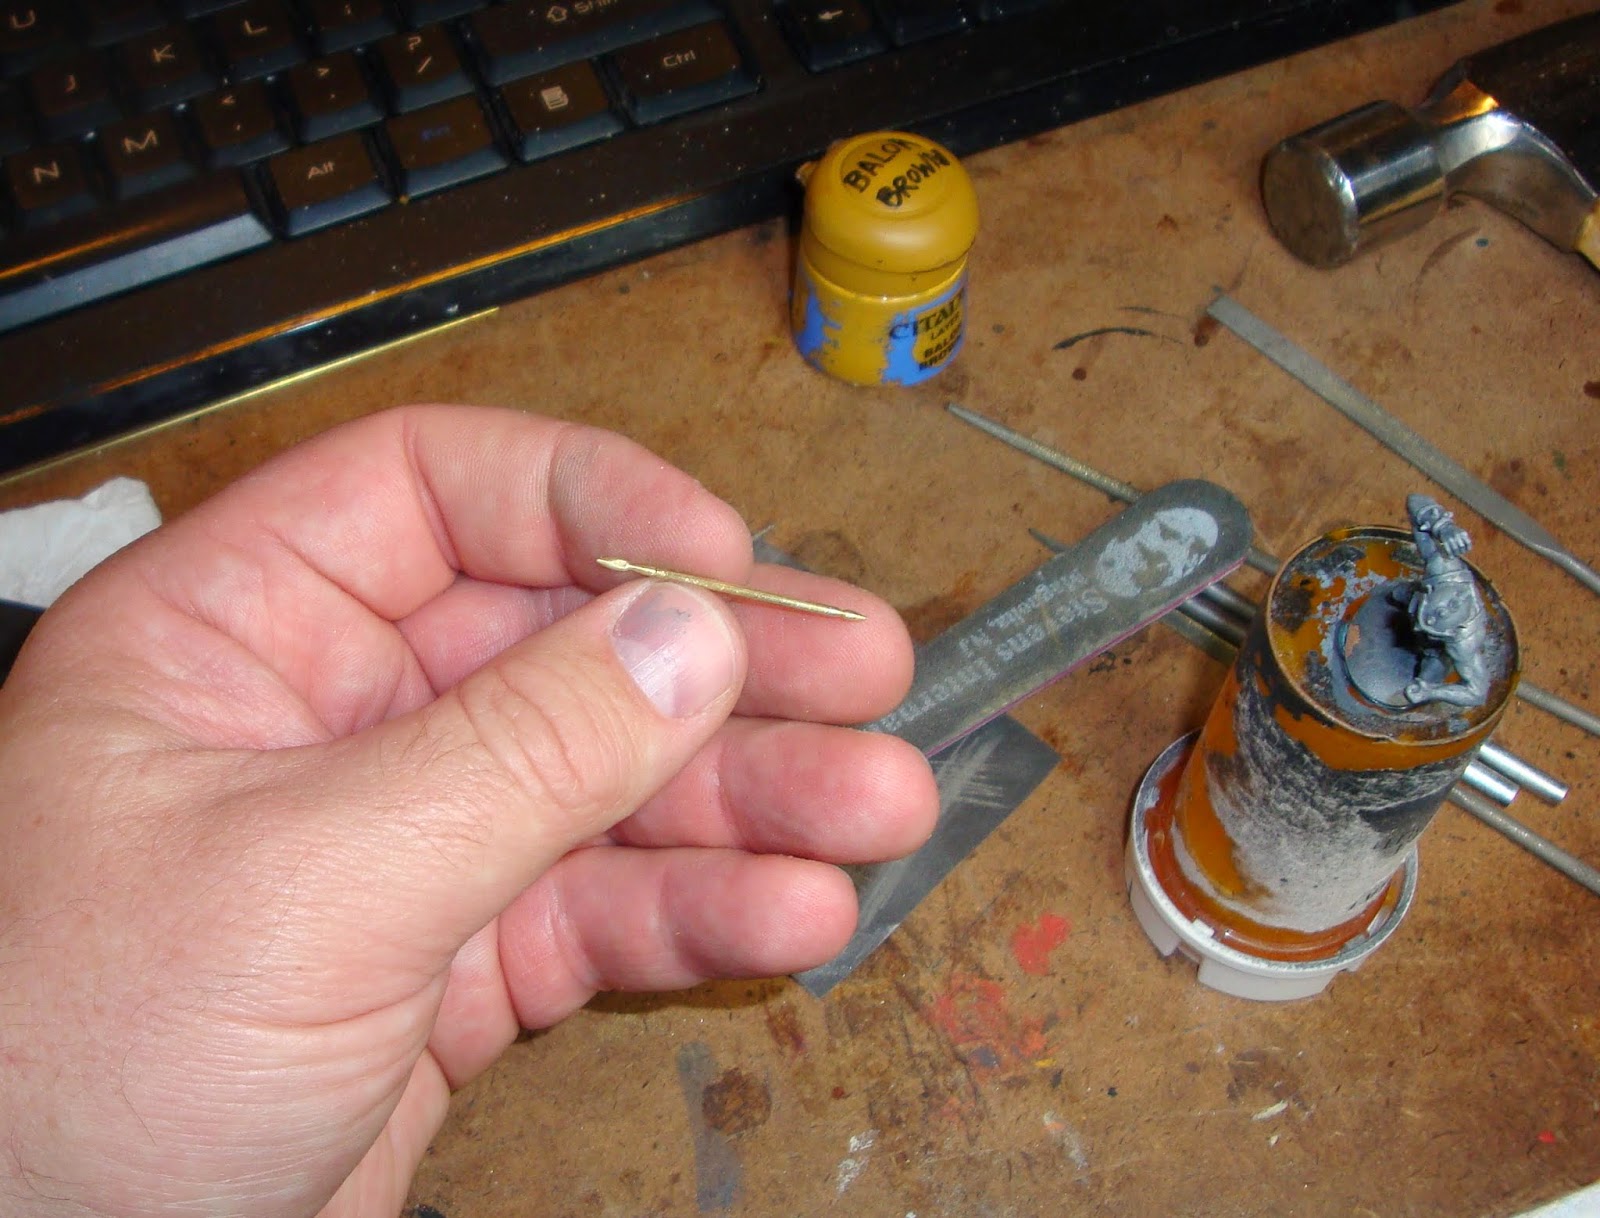 |
| Fig. 10 The finished spear. This is meant to be a short one - 33mm long overall, which is 1.8m (6 feet) in 28mm scale. |
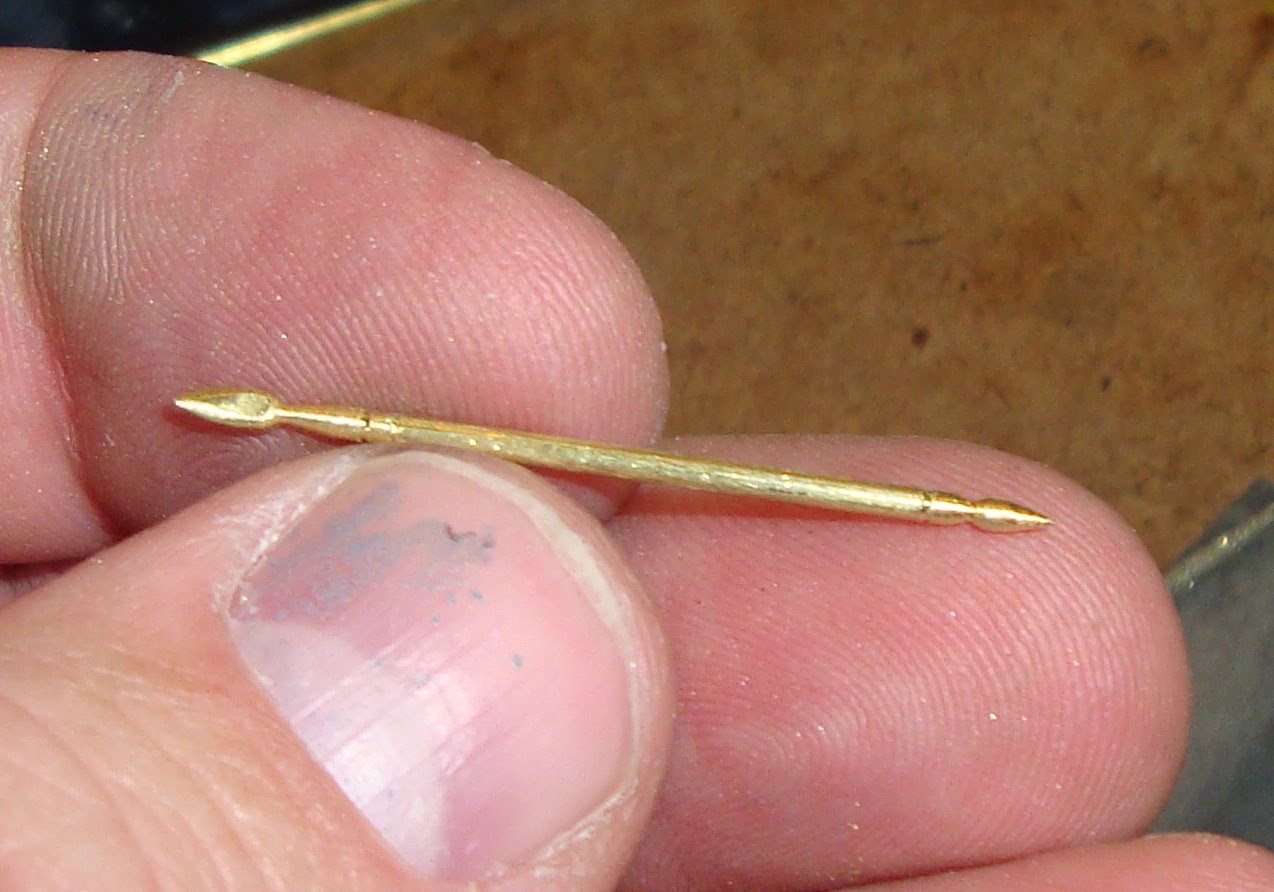 |
| Fig. 11 A closer look. |
 |
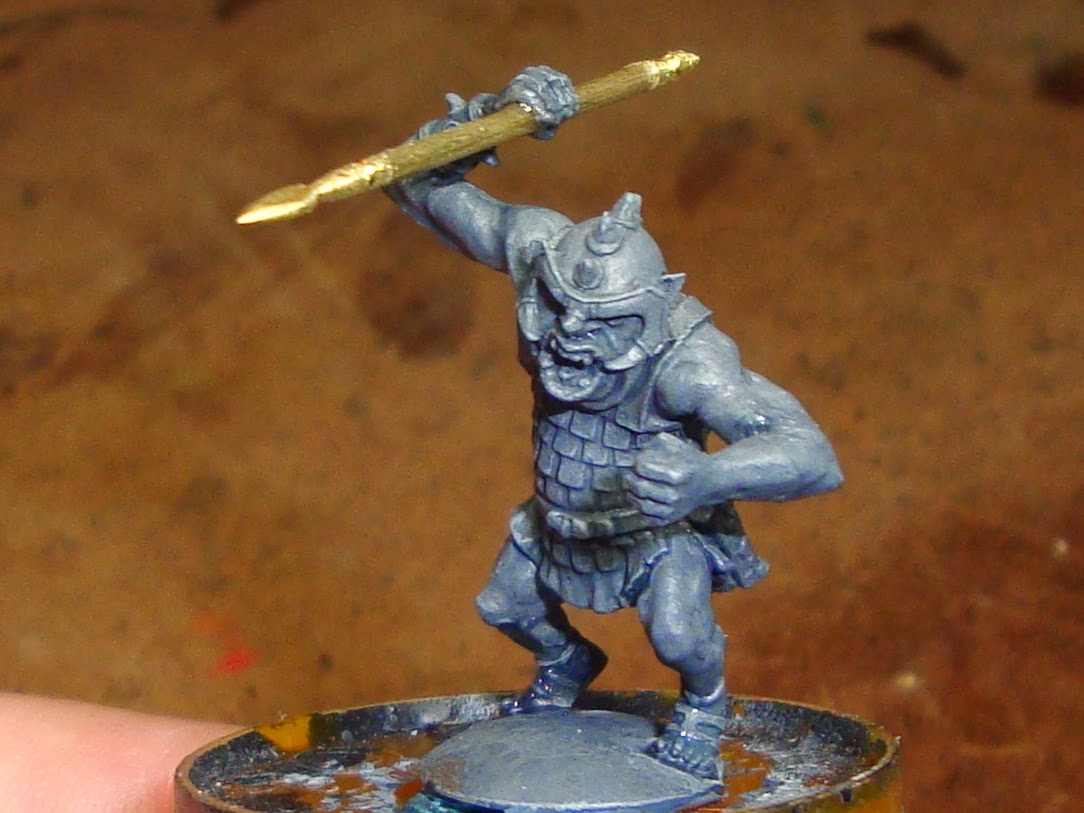
| Fig.12 The spear installed with superglue into the hand of a miniature, in this case a Tom Meier goblin. |
 |
| Fig.13 Brass rod can be used to make other implements and weapons, with patient shaping and filing - I have made swords, polearms, maces, and axes. |
No comments:
Post a Comment